This article has been localized into Japanese by the community.
In this article series, we're building a complete Snake game from scratch. It makes sense to start with the Introduction and then work your way through the articles one by one, to get the full understanding.
If you want to get the complete source code for the game at once, to get started modifying and learning from it right now, consider downloading all our samples!
ゲームエリアを作る
スネーク WPF を作るために、まずマップを作るところから始めましょう。マップは、ヘビが移動可能な閉空間で、言わばヘビ穴です。ヘビ穴の見た目ですが、チェスボードのように正方形から成り立っているものにします。そして、その正方形の大きさはヘビの胴体パーツと同じとします。二つのいてレーションを使って、マップを作成していきます:XAMLではよく利用されます。それはとても簡単なのと、コードビハインドで描画する際に、繰り返し処理や動的処理で利用しやすいからです。
ゲームエリアの XAML
では、XAMLを書いてみましょう - Border controlの中に、Canvas パネルを持つ Windowで、描画エリアを定義します:
<Window x:Class="WpfTutorialSamples.Games.SnakeWPFSample"
    xmlns="http://schemas.microsoft.com/winfx/2006/xaml/presentation"
    xmlns:x="http://schemas.microsoft.com/winfx/2006/xaml"
    xmlns:d="http://schemas.microsoft.com/expression/blend/2008"
    xmlns:mc="http://schemas.openxmlformats.org/markup-compatibility/2006"
    xmlns:local="clr-namespace:WpfTutorialSamples.Games"
    mc:Ignorable="d"
    Title="SnakeWPF - Score: 0" SizeToContent="WidthAndHeight">
    <Border BorderBrush="Black" BorderThickness="5">
    <Canvas Name="GameArea" ClipToBounds="True" Width="400" Height="400">

    </Canvas>
    </Border>
</Window>
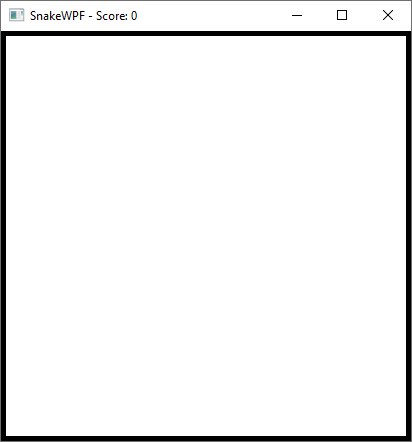
このような感じの画面です:

Canvas をゲームのエリアとしています。Canvasには、各場所に対してフルコントロールすることができる control を追加することができます。後で利用することにしますが、今は以下のことに注意してください:
- Windowの幅・高さは定義していません。フルコントロールをしたいパーツとしてCanvasを定義しています。Windowは、SizeToContentプロパティをWidthAndHeightにセットすることで、そのサイズを調整していることを確認してください。Windowに幅・高さをセットしていますので、実際に有効なサイズは OS が Windowsのために利用するボーダーの幅(Windows テーマなどによって異なる)に依存します。
- CanvasのClipToBoundsプロパティをTrueにセットしています。これは重要で、このようにしない場合は、この後追加するコントロールがCanvasパネルの境界を越えてしまいます。
コードビハインドにて、背景を描画する
先に書いたように、ゲーム画面の背景はチェッカーボードにしたいと思います。コードビハインドからの追加がしやすいように、沢山の正方形で埋めることにします。(単一画像を使いまわせますし。動的ではありませんが)Windowの中の全てのcontrolを初期化/レンダリングする際に、追加します。これをやってくれるのが、WindowのイベントContentRenderedです。Windowの宣言の中でサブすくライブしましょう。
Title="SnakeWPF - Score: 0" SizeToContent="WidthAndHeight" ContentRendered="Window_ContentRendered"コードビハインドの方を始めましょう。まず、ヘビや背景の正方形を描画するときのサイズを決めます。Windowクラスの最初に定義します:
public partial class SnakeWPFSample : Window
{
    const int SnakeSquareSize = 20;
.....ContentRenderedイベントで、DrawGameArea() メソッドが呼ばれ、以下のように様々な処理をしています:
private void Window_ContentRendered(object sender, EventArgs e)
{
    DrawGameArea();
}

private void DrawGameArea()
{
    bool doneDrawingBackground = false;
    int nextX = 0, nextY = 0;
    int rowCounter = 0;
    bool nextIsOdd = false;

    while(doneDrawingBackground == false)
    {
    Rectangle rect = new Rectangle
    {
        Width = SnakeSquareSize,
        Height = SnakeSquareSize,
        Fill = nextIsOdd ? Brushes.White : Brushes.Black
    };
    GameArea.Children.Add(rect);
    Canvas.SetTop(rect, nextY);
    Canvas.SetLeft(rect, nextX);

    nextIsOdd = !nextIsOdd;
    nextX += SnakeSquareSize;
    if(nextX >= GameArea.ActualWidth)
    {
        nextX = 0;
        nextY += SnakeSquareSize;
        rowCounter++;
        nextIsOdd = (rowCounter % 2 != 0);
    }

    if(nextY >= GameArea.ActualHeight)
        doneDrawingBackground = true;
    }
}
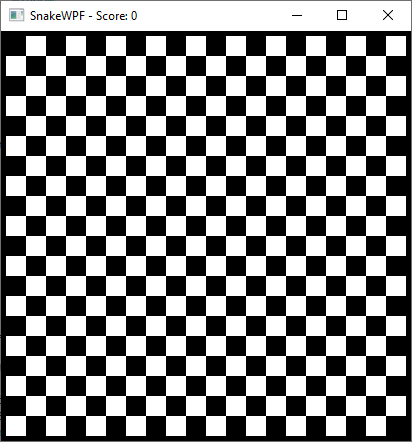
先に述べましたが、この記事内では他の記事よりもC#の知識が多少必要になります。各行に対する説明はしませんが、ここでは以下のことをやっています:whileループの中で、Rectangleコントロールのインスタンスを作成して、Canvas (GameArea) に追加しています。Rectangleを白か黒で塗り潰し、その幅と高さのサイズをSnakeSquareSize定数で設定して、正方形にしています。この繰り返しの中で、nextXとnextYという変数を使って、左から右に、そして次の行に、そして最後の一番下の右端まで設定しています。
以下が結果です:

サマリー
この章では、XAMLの中でゲームの中身を定義しました。そして、ゲーム領域に対して WPF Rectangle control を追加することで、色づけされたチェッカーパターンを作成しました。次のステップでは、ヘビと、ヘビが食べる食べ物を追加していきます。